If there’s one feature that separates casual chart watchers from consistent traders, it’s alerts.
Alerts let the market come to you instead of you chasing it.
And while TradingView’s free plan gives you just one alert, the Pro and Pro+ plans unlock the tools that serious traders rely on every day.
If you want to test the same premium alert features I use, start here:
Why Alerts Are a Game-Changer
Imagine this scenario:
You’re busy with work, errands, or family.
A trade setup happens exactly as planned.
With alerts, you get notified instantly — you don’t have to sit glued to the screen.
The right alerts:
Save time
Reduce stress
Improve consistency
Prevent emotional or impulsive trades
Paid TradingView plans let you set multiple alerts, customize conditions, and even trigger actions automatically.
Step 1: Choosing the Right Alert Type
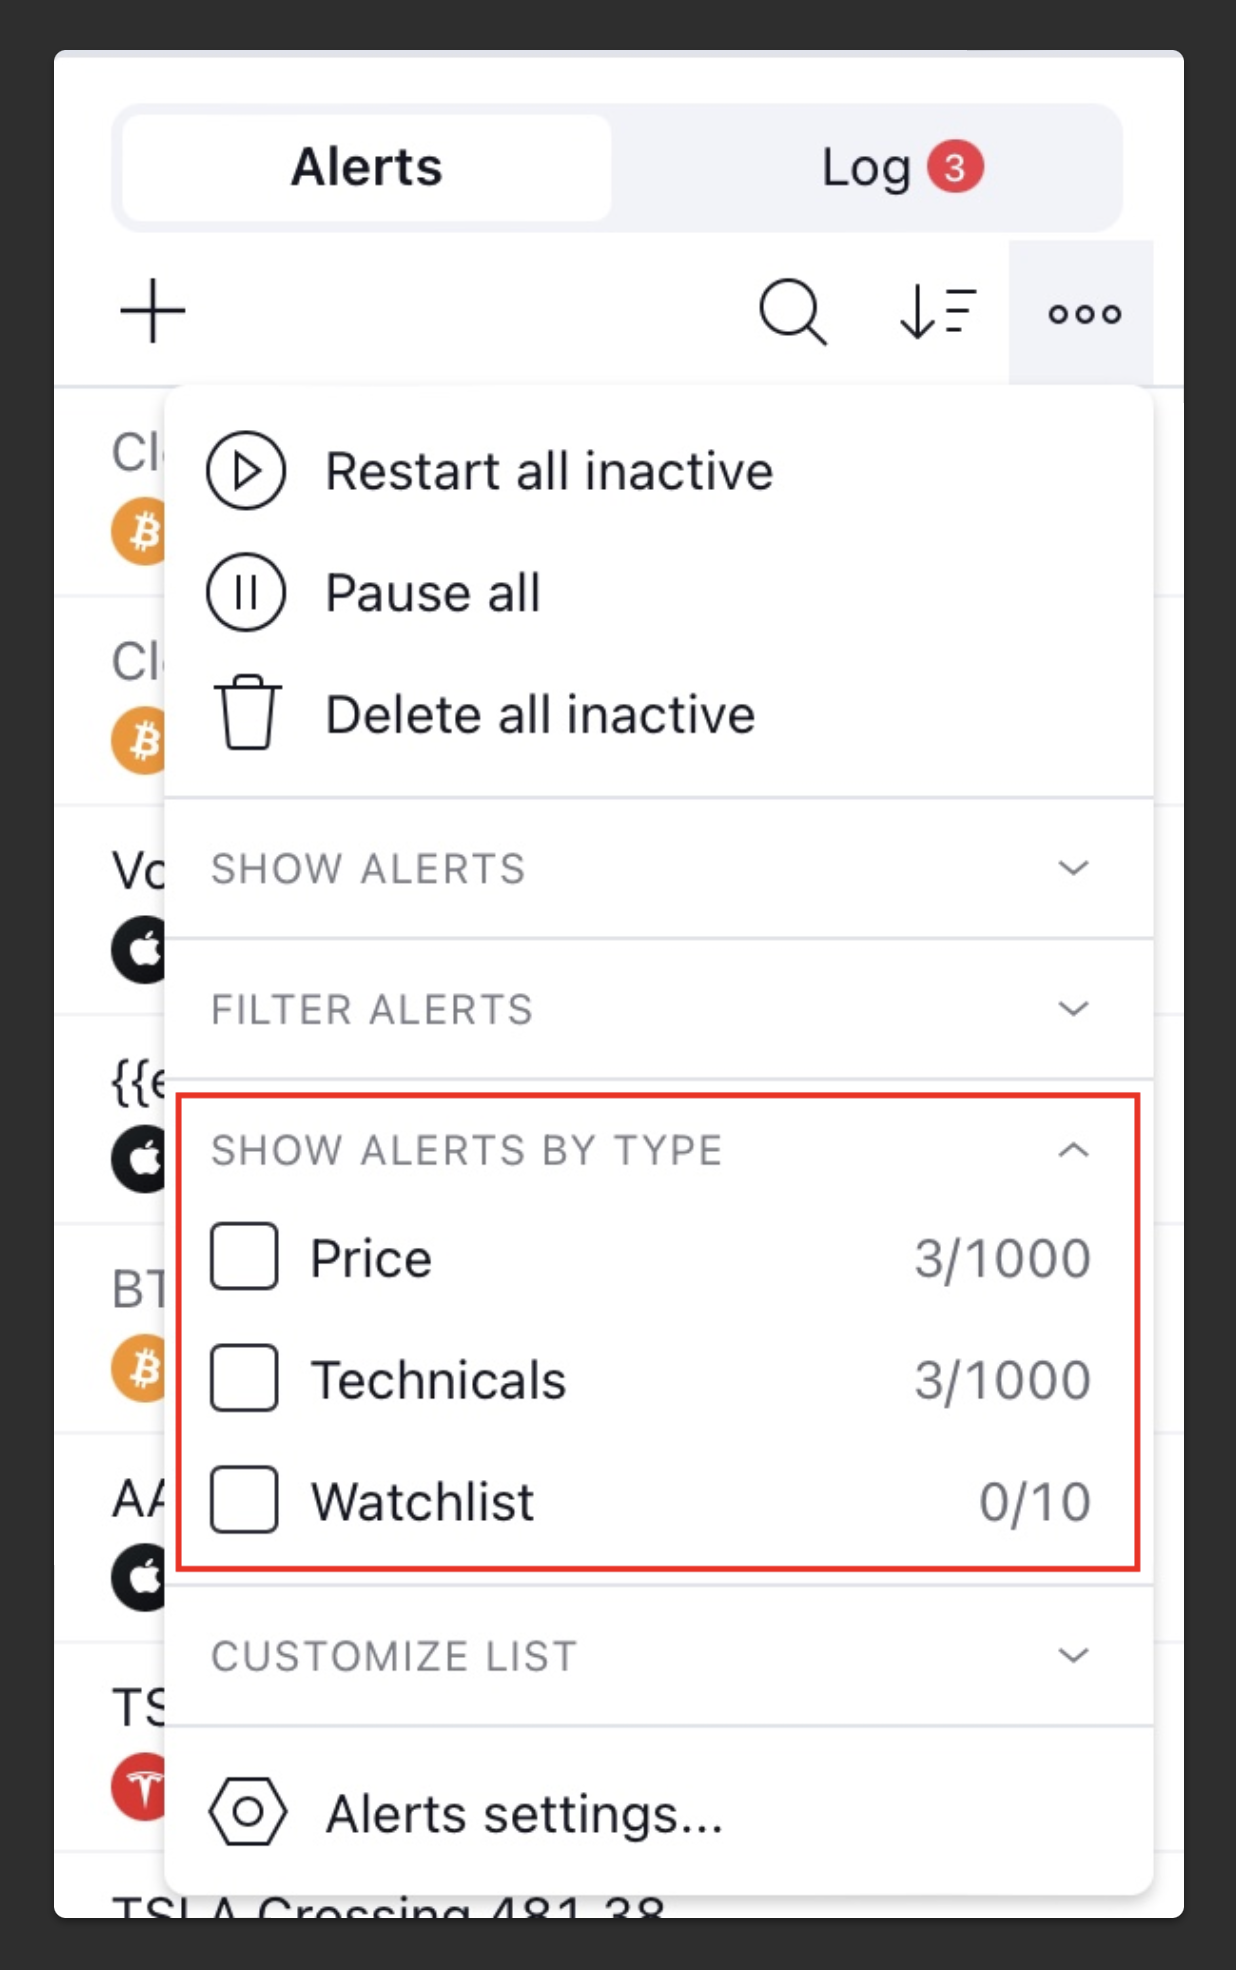
TradingView offers several types of alerts on paid plans:
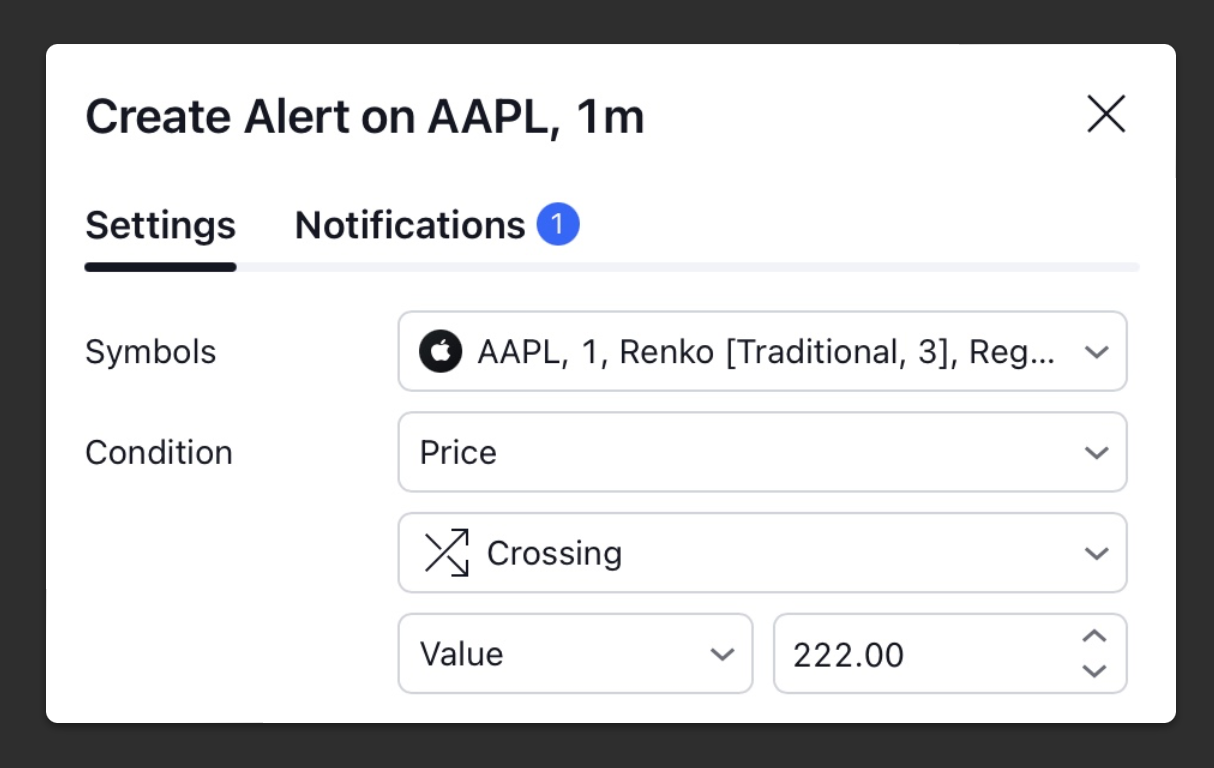
Price Level Alerts
Triggered when price reaches a specified level
Ideal for support/resistance entries
Indicator Alerts
Triggered when an indicator condition occurs (e.g., EMA cross, RSI oversold)
Saves you from constantly monitoring charts
Drawing Object Alerts
Triggered when price touches a trendline, channel, or horizontal line
Lets you combine technical analysis with notifications
Webhook Alerts
Send a signal to another app or bot
Perfect if you use trading automation or journaling systems
Paid plans let you combine multiple conditions, which can’t be done on the free plan.
Step 2: Best Practices for Setting Alerts
Alerts are only useful if they’re actionable:
Keep them specific – “Notify me if price crosses 1.1200” is better than “Notify me if price moves.”
Use sound notifications or push alerts – email alone can be missed.
Limit the number of alerts – too many, and you’ll ignore them all.
Test them first – a small practice alert ensures they trigger correctly.
Step 3: Alert Strategies That Work
Here are a few strategies I personally rely on:
1. Pullback Entry Alerts
Set an alert at a high-volume node or EMA
Enter when price reacts to the level
2. Breakout Alerts
Monitor consolidation zones
Trigger an alert when price breaks out, not before
3. Multi-Indicator Confirmation
Combine price crossing EMA + RSI threshold
Only alert when both conditions are met
Helps avoid false signals
4. End-of-Day Summary Alerts
Notify you if a stock/crypto closes above or below a certain zone
Helps plan next-day trades efficiently
All of these require at least the Pro plan, which is why upgrading isn’t just convenient — it’s essential for a professional workflow.
Step 4: Staying Organized With Alerts
Paid plans let you manage multiple alerts simultaneously.
Here’s how I keep them tidy:
Group alerts by strategy or timeframe
Label alerts with clear names (“BTC breakout,” “ES pullback”)
Delete old or irrelevant alerts daily
This ensures you never miss a signal because of clutter.
Step 5: Testing & Adjusting Alerts
No alert system is perfect out of the box.
Backtest alert conditions with Bar Replay
Adjust triggers based on market behavior
Only keep alerts that consistently lead to actionable trades
This process transforms TradingView alerts from a “nice feature” into a trading edge.
Why Upgrading Is Worth It
Free plan: 1 alert → not enough for serious traders
Pro/Pro+: 10–30 alerts, multi-condition setups, indicator alerts
Premium: 400 alerts, webhooks, 8 charts per layout
The ability to catch more trades without babysitting charts is why most traders upgrade.
It’s the single feature that pays for itself if used consistently.
Start Using Alerts Like a Pro
If you want to unlock these features and set up your alert workflow the way I do, here’s the link I started with:
Start catching trades without missing a beat.